A brief outline of the OPCT® Factory
The OPCT® Factory is compatible with all impression-taking techniques and the working habits of professionals. It works by means of three tools supplied by Podiatech:
- An iPad;
- A 3D scan, the Structure Sensor;
- A dedicated application, the Podiatech app.
The steps:
- Scan the impressions of the patient;
- Upload and save them in the application along with all the patient's personal and clinical information;
- Select an orthosis from around sixty models and customise it to suit the patient's pathology;
- Pass the data to the Podiatech team in charge of manufacturing;
- Once the pair has been sent to the practice, carry out the fitting and modify the insoles if they are not a perfect fit.
OPCT® Factory News
Trade fairs
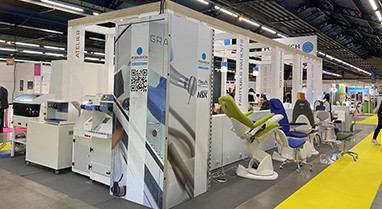
Present at podiatry trade shows such as the AFDP or the Podiatry Discussions in Paris, Podiatech offers demonstrations on how to use the OPCT® Factory tool.
Training
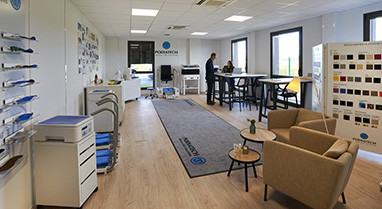
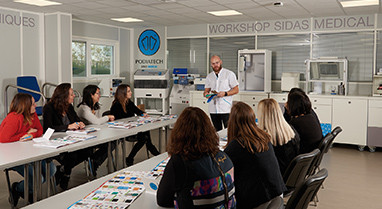
Individual or group training can be organised in Podiatech's showrooms in France, in Paris, Nantes, Toulouse, Grenoble Airport and Strasbourg. Practical workshops and live demonstrations are also offered in various regions, in showrooms, or at practices by appointment.
Specialist speakers can support you in personalising your training or gaining experience in specific areas. Contact Podiatech for more information.
Tutorials to help you get to grips with the tool quickly and easily
Using the OPCT® Factory requires no specific training; just a few explanations are enough to handle the tool. However, "step-by-step" tutorials are available on the Podiatech YouTube channel to help you get to grips with it.
Creating a patient record
Tutorial 1 is used to create a new patient in the Podiatech application. Three fields must be filled in at this stage: the order reference, the size and the patient's name. It is also possible to complete the medical history or move on to the next stage.
Importing an existing scan
Tutorial 2 explains how to import a scan from your computer into the Podiatech app: choose the type of scan (impression box, insole, inked impression, or foot), click "import" for the left foot, then repeat the operation for the right foot.
Scanning and importing a vacuum impression box (VIB)
Tutorial 3 covers importing a scan of a vacuum impression box (VIB) made using the Structure Sensor technology directly into the patient's record using the iPad.
Scanning and importing an impression box
Tutorial 4 demonstrates how to import a scan of impression boxes using the Structure Sensor technology.
Foot scan and import
Tutorial 5 explains how to import a scan of a non-weightbearing foot using the Structure Sensor technology on iPad.
OPCT® PRO level customisation
Tutorial 6 demonstrates the PRO level, which allows you to select a model from a series of predefined moulded insoles that best fits the patient's footwear. Only finishing and covering options can be added at this level. Then simply select the orthoses to be ordered, specify the quantities, and confirm the order.
OPCT® ADVANCED level customisation
Tutorial 7 details the ADVANCED level which allows corrections to be made to the plantar orthosis:
- At the level of the intrinsic structure, directly machined into the positive in order to modify its shape;
- At the covering level, positioned between the covering and the base of the insole;
- At the lower level, placed under the orthosis.
OPCT® ELITE level customisation
Tutorial 8, meanwhile, concerns the ELITE customisation level which allows the free placement of correction elements on the 3D interface of the Podiatech app.

